
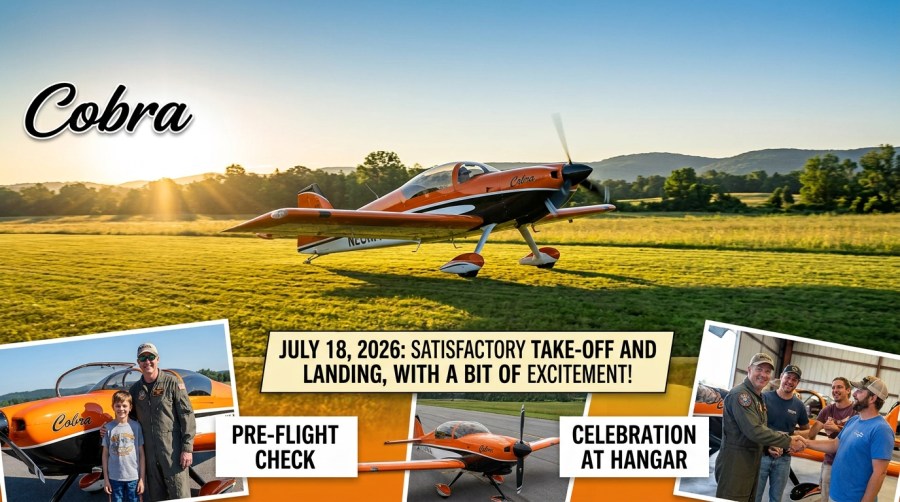

PART ONE The First Flight:
After several years of work, I took it into the air early in the morning of Saturday July 18, 2026. As first flights go, it went satisfactorily. The take-off went well, and the landing was as okay, as to be expected, for never having flown this aircraft before. However, the initial climb-out had a few moments of excitement!
Having had to scrub previous First Flight plans due to weather/wind conditions, I finally had a morning that I felt was suitable. The wind was light and from the south, so I elected to use Runway 16 at Indus.
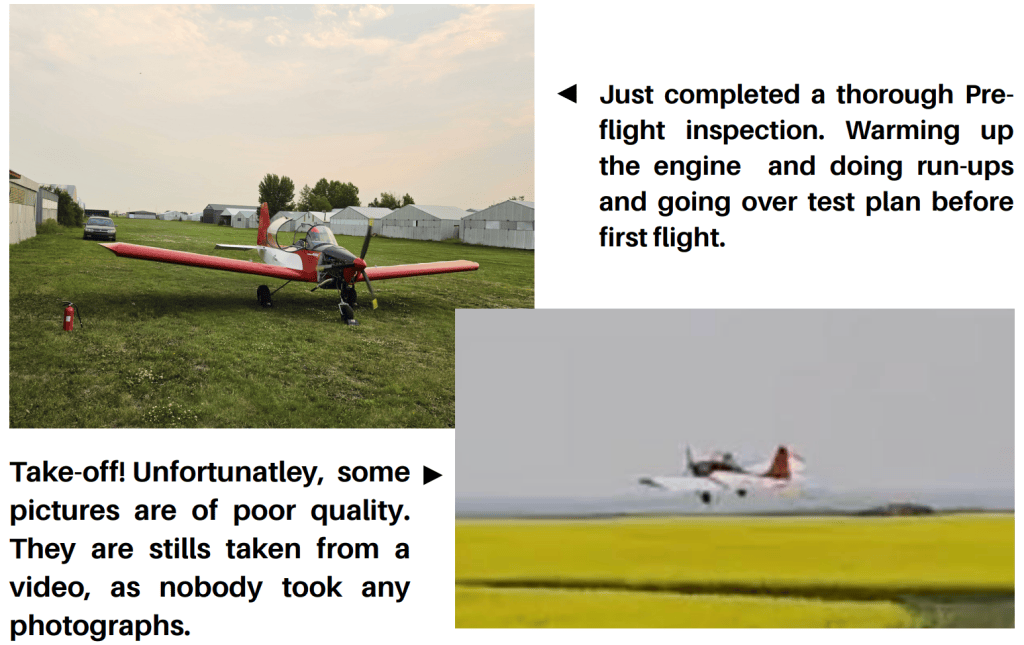
After a long and detailed pre-flight inspection, which I Had my son Steve (also a pilot) double check my work for that second set of eyes, it was time. During the pre-flight, start and warmup, the south wind had picked up and was pretty strong but “straight down the pipe”. My test plan was to keep my climb-out fairly shallow for a few reasons. Firstly, I was not completely sure my Airspeed Indicator was functioning accurately. To this point, I had only conducted high speed taxi tests up to a speed I thought was nearing rotation and it appeared to work somewhat.
Secondly, as many of you remember, this aircraft was built as a one-off prototype for a customer and never went into production. As such, no POH or Manual exists so I had no real performance numbers to use, especially Stall Speed, just best assumptions. I just wanted to keep a cautious margin for safety, so I climbed shallow and at a higher speed which allowed that margin.
Unfortunately, this created a different problem for me to contend with. Beside the south end of the runway, there is a large stand of trees. In normal flying, you would be well above them by the time you reach them. In this shallow climb I hit a very strong wave of Mechanical Turbulence, only 15 seconds into the flight.
It suddenly turned into an unexpected rollercoaster ride, tossing me around. I just focused on flying the airplane, maintaining control and not over-reacting on my inputs. The following 20 seconds were very exhilarating, then suddenly… it calmed right down.
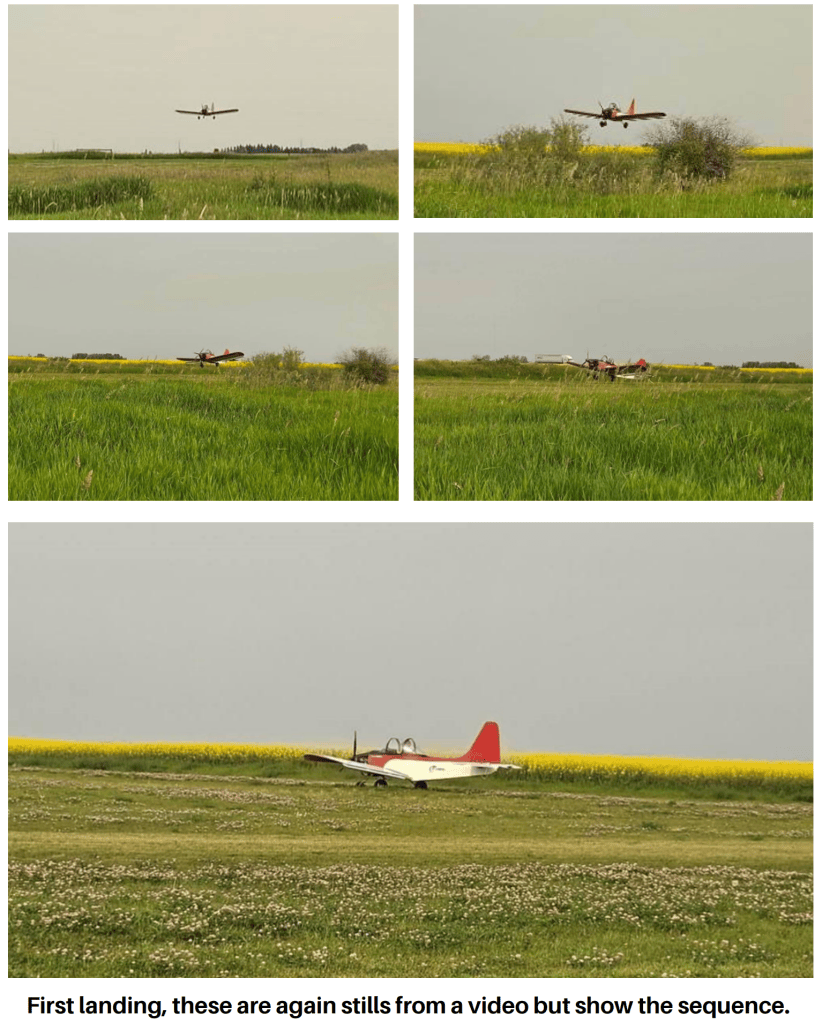
“Well hell, that was exciting!” I said to myself. I got back to business flying my test plan. Checking panel instruments, testing mild control inputs, and various tasks I wanted to complete. On Downwind, I did my downwind checks and also checked my Altimeter against a pocket altimeter I brought with me. I also noted various RPM settings and corresponding airspeeds. From Base leg on, I focused solely on approach and landing. I set up for a long approach to allow time and space for a stabilized approach. I elected to make it a full stop, so I could look the aircraft over after first flight. Besides, that was enough excitement for that morning and the wind was only getting worse.
The approach went very well and the landing was passable. Not my smoothest, but not my roughest either. A single small bounce then a simple rollout. I was back down. During back tracking and taxi back to my hangar, I was making many mental notes. Kind of a post-flight self debrief.
Family and friends who attended, met me back at my Hangar. After shutdown, I was very happy and took time to savour the moment before I climbed out. Did a quick lookover and the aircraft looked fine. Nothing leaking, disconnected, broken or otherwise deficient.
This was followed by the obligatory celebratory pictures with various people. It was another big moment in my flying story.
I owe a huge thanks to many people along the way. Firstly, the many good friends who helped, motivated and inspired me to get here. These include but are not limited to Dirkjan Kiewiet, Kevin Caine, and Charlie Taylor, who attended the flight. Special thanks to friend and Mentor Stu Simpson from whom I’ve learned so much. Especially my best aviation buddy and great friend Al Baljak, who’s generosity, help and encouragement made this believable and possible.
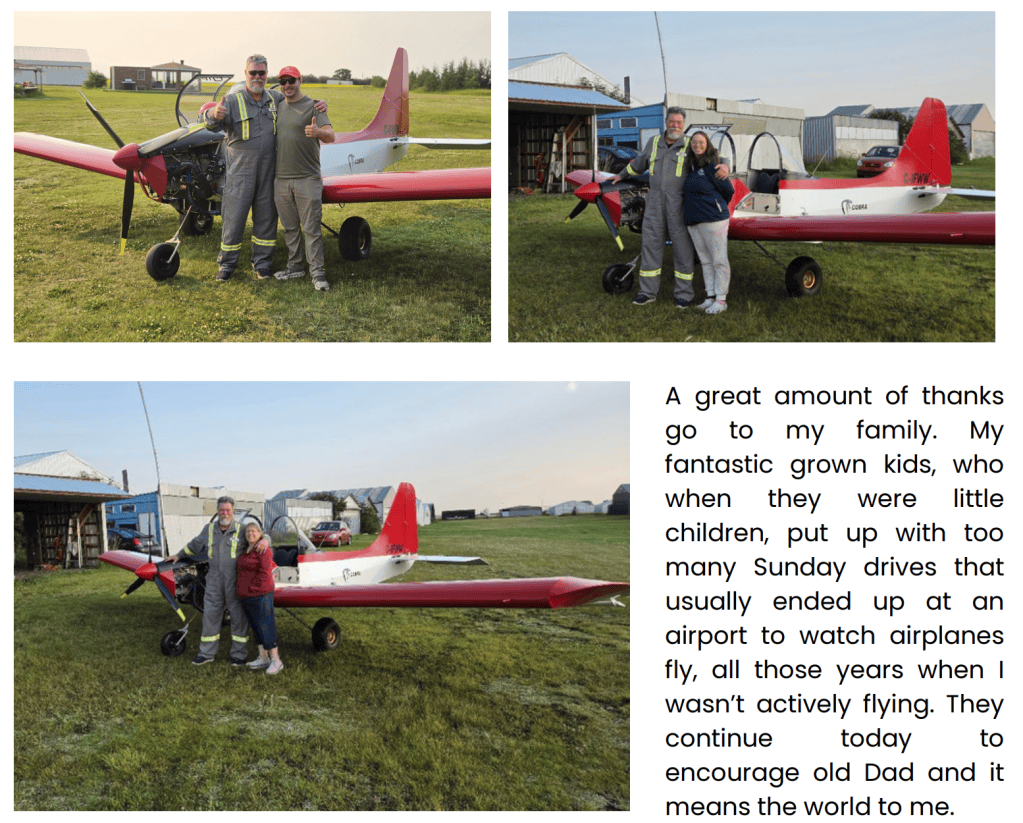
Lastly, but mostly importantly, my Wife Sue, who not only tolerated the time, money and commitment I had to put in to get here, but also always encouraged me. Especially at times when I was ready to quit. She put up with all the time I spent online researching various information, the late nights down at the hangar working in all weather, weekends spent totally on aviation stuff. The many times she showed up at my hangar to bring me a warm meal and some coffee. She’ll never know how much that means to me and how grateful I am. Overall, the first flight was a success and I feel great sense of accomplishment. It’s a big deal to me and another high point in my journey.
PART TWO Analysis and conclusions:
I’ve since flown the aircraft a few more times and have done some circuits. I made some tweaks and flew to see what the results were.
Prior to the first flight, I did a weight and balance on the Cobra, both empty and with full fuel and me seated in it. It confirmed what I had previously suspected. The CG was pretty Aft. In discussion with Wayne, he told me that I’d find it to be that way. I had placed some ballast to try to lessen the aft condition. It put the CG at the aft limit.
After the first flight, I decided to add more ballast to bring it further forward off the Aft limit. That was the best I could do without major changes, such as moving the engine forward. An Aft CG is very difficult to correct by adding ballast weight alone.
During subsequent flights, despite CG corrections, I noticed how it still required a significant and constant nose down pitch input to fly level. Hands off, it would pitch up abruptly. I had deployed FULL pitch trim, which only made a slight difference.
After more analysis, I wondered if the rigging was entirely correct. Looking at historic old pictures of the Cobra, I noticed in level flight that it always had the Trim Tab fully up and a substantial amount of down elevator. (see pictures below)
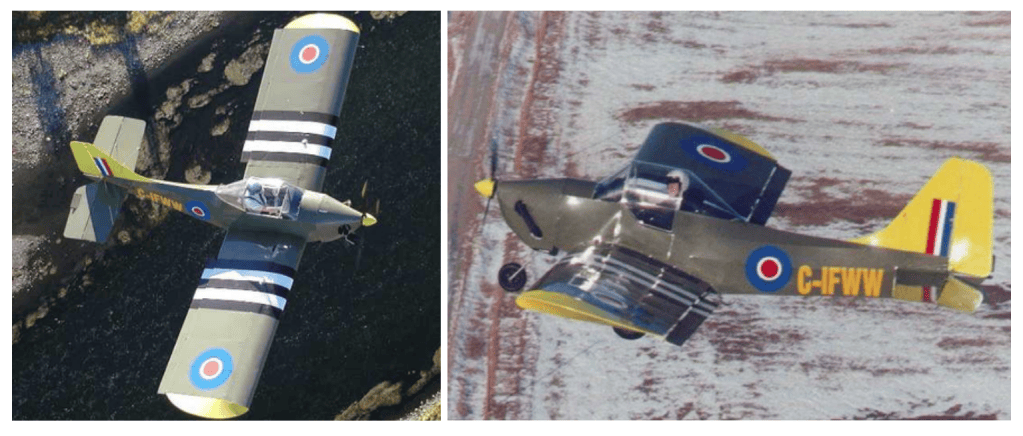
In a perfect world the Elevator should trail pretty level behind the Horizontal Stabilizer in Level cruise flight. It may require a bit of trim tab but the considerable amount I needed was too much. This just creates more drag and feels wrong to have to constantly push the stick forward in cruise flight. Granted, I’m a big guy in both dimension and mass, but I was in the range for CG seated in the aircraft. Even more so on later flights.
My theory is that the Incidence angle of the Horizontal Stabilizer needs to be adjusted. It should be a bit Negative but not that negative. I think it needs a little less tail downforce.
This aircraft was derived from the Merlin, using its wing design and Horizontal tail. The older Merlins had a bracket on the Leading Edge of the Horizontal Stabilizer that allowed adjustments to it’s incidence. Later Merlins didn’t incorporate this feature nor did the Cobra. To rectify this situation would require more work and changes to the airframe to add this feature.
I know others had flown this aircraft but I’m likely bigger, heavier and sit further back than most. Maybe their experience and impressions differ from mine. Hard to say.
I was unable to fly it before I purchased it, as there is only one like it in the world and it required some things done to it before I felt it was safe and ready to test fly. I bought it on spec and had the best hopes.
I’m not sure what my next move is yet. I know I want to work on and get my Merlin flying eventually. I’ll keep you posted.
PART THREE project recap: Lots of detail, only read if interested or cant get to sleep.
This was a more involved project than initially anticipated when I bought it. Originally built in 1998, but it didn’t fly much. Not to cast shade on anyone who built, worked on, or owned this aircraft previously, but I’ll say it needed a lot of work. It went through several owners, and it languished in hangars for long periods. All of this made rebuilding of several things necessary. To get a sense of why it took seven years of work, here’s a list, in no specific order, of many items I worked on to get this aircraft flying.
Landing Gear: New wheel bearings, three new tubes and tires, fabrication of new gear leg to axle tubular sockets (several iterations were required to correct Camber and Toe-in), new brake lines and new brake fluid, splitting a single brake T-lever and addition of another brake cylinder for differential braking, order and installation of solid steel rod gear legs special ordered from Langair who manufacture all the RV gear legs.
Cooling System: Draining contaminated coolant, as a result of the seals of the rotary valve/water pump cross-shaft being deteriorated by age and failing, mixing injected oil with old green coolant and circulating through entire engine, flushing and cleaning of radiator, installation of new silicone hoses, new thermostat and gasket, and new cross shaft. (Installed during engine rebuild) Exhaust System: The old muffler was rusted out inside and shaked like a Mexican maraca, a new one was welded into the existing piping to save money instead of buying an entire new system, new gaskets, new springs with safety wire and red RTV, fabricated new mount brackets and new shock mounting rubber/bolt hardware, repaint with high heat paint, heat wrap on some piping, removal of old single EGT probe mounted in wrong location and replacement with 2 new probes in correct threaded bung location along with senders, and a new EGT instrument in panel.
Fuel System: Fuel Tank steam purging, pressure testing and repair of weld to remedy known fuel leaks. Rebuilding and strengthening of fuel bay between ribs and proper securing as tanks were partly secured in place with expanding foam. To remove old fuel varnishing, cleaning of finger strainers and all fuel line fittings, all new fuel line, new fuel selector valves, new fuel filter, new primer plunger and primer line, fabricating a new bracket to move Mikuni fuel pump
into a proper horizontal position instead of wrong vertical orientation, new fuel caps and making 90 degree vents for them, clean and rebuild both Bing 54 carbs with many new parts, FWF all new fuel lines and firesleeves, new Facet boost pump, replace 3-to-1 throttle cable and mixer with new, addition of choke system on each carb and in cockpit lever and cable, fabrication of new throttle quadrant.
FWF Misc: New brackets and safety wire for coolant overflow bottle and 2-stroke oil tank, replace wire harness from Rotax 582, new voltage rectifier/regulator, new battery & bracket, addition of main battery shut-off switch on firewall, new heavier cable and wires and new master solenoid, general firewall re-organize and clean up, modification to cowling side panel to allow cowling removal without removing exhaust system.
Electrical system: I felt replacement necessary due to some melted wires and finding a wood screw forced into a mag switch to secure a ring terminal. Removed full wire harness and bench-built an all new harness, with new switches, new fuse block and new bus bars. Added some new items and prewired for future accessory additions. Panel: Made a new panel to reorganize for better layout and add a VSI and made a new lower sub panel to accommodate some switches. Replacement of analogue Tachometer & new Tiny Tach, new EGT, new Voltmeter, 12 volt ports, and new pitot and static lines.
Engine: Due to coolant/oil contamination, the engine had to be removed, completely torn down, inspected, measured, and reassembled with some new parts, and resealed with all new seals and gaskets. I’ll call it a rebuild. I did this at home after taking the Rotax 2-stroke course in Vernon, with Bob Robertson. Controls: Due to age and condition, I re-swaged all new control cables with new thimbles, new turnbuckles properly double spiral wrapped safety wired, new cable exit fairings, also re-did the stabilizer flying wires as these are cable and not tube struts like on the Merlin. Replaced vernier knob/cable trim system as the old was internally rusted and seized.
Canopy: To fit comfortably and to make stronger, I removed the old canopy and built from scratch, a new taller canopy with a better sturdy latching system and a drop down door similar to a Spitfire. I replaced all Lexan with new at the same time, front windscreen, flip canopy and rear windscreen. This was custom fabrication and I spent much time designing and installing.
Radio: I bought it without any radio, etc. Bought a new Icom handheld, made a secure bracket for it, set up wiring for power to the power pack and to radio, installed the PTT system with push button on stick, installed coax cable, antennae, and a large ground plane in turtle deck area under fuselage skin.
Fabric and Paint: Aircraft had a vintage paint scheme similar to WW2 fighter aircraft, complete with invasion stripes and roundels. Unfortunately, the paint looked nice and glossy but was pealing off very easily exposing the silver Polyspray layer. Not sure why but none of that paint stuck to that silver layer. Barely touch the fuselage or wings and it would start peeling and wouldn’t stop. The fabric was still viable, but the paint had to go. There was also some hangar rash damage that had to be repaired. I hand pealed almost all of the paint coats and it left the pink Polybrush and silver Polyspray mostly intact. Next I did fabric repairs then primered and repainted the entire aircraft with a new red, black and white paint scheme. I also designed and installed decals. I think it turned out nice. There are probably more items I’ve forgotten about, but that’s the general list.
Originally, I bought this aircraft as a quick stop gap measure so I could fly it while doing my Merlin, the plane I really want. Well sometimes weeks morph into months and months into years.
i Never thought I would spend seven years and truckloads of money on it, but every time I looked closer at it, there were things I discovered that had to be done, mostly for safety reasons. Early on, some things were done because I thought I would do them while working on the important items , but as time dragged on I decided to only focus on those that were critical for flight and important for safety.
What do they say about your estimate of the time and money you THINK it will take to complete an aircraft???

