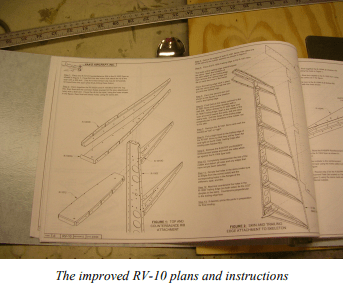
Well, I finally got the Empennage kit Friday afternoon, September 14. This kit consisted of everything behind the baggage compartment. Friday night, Emma and I took everything out of the box and made places for the parts all over the garage. Saturday morning, I inventoried all the parts and then started on the vertical stabilizer that afternoon. The plans are very detailed. I’ve commented before that the RV-9 instructions were really good, but they went a step farther with the RV-10. Each page has drawings and step-by-step instructions to follow on that same drawing. Matching separate plans with instructions is not required for building this airplane.
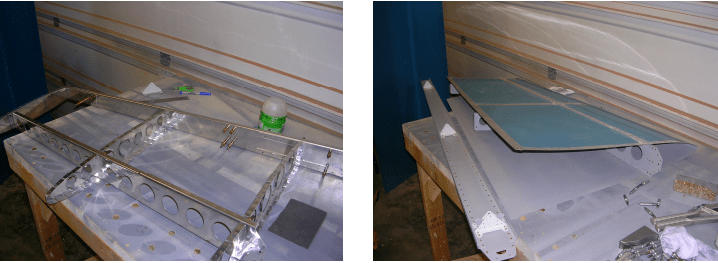
When Emma woke up Sunday morning, the first thing she asked me was if the RV-10 was all built!! I explained that we would be working on it for a while, and we both raced out to the garage after breakfast. By Sunday morning, everything had been fabricated, fitted, drilled, deburred, and dimpled. I shot primer on the parts once they were all cleaned up and cut the lawn while they dried. Just before supper, I was able to start riveting.
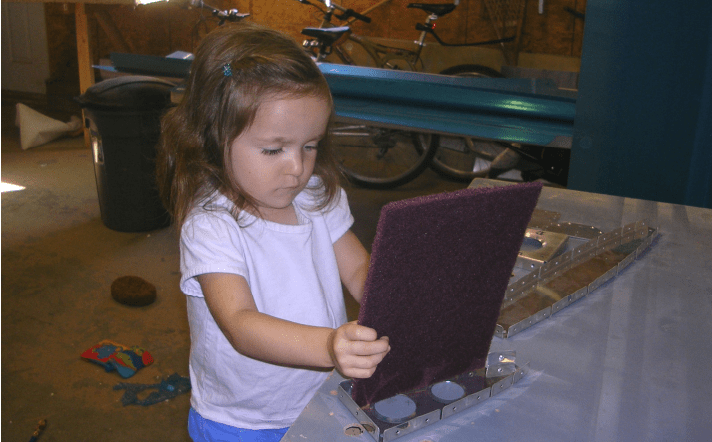
Emma put the rivets in the holes and held the parts while I riveted. She is turning out to be a great help, and she is not even 3. She also scuffed many parts before painting. She really thought she was being a great help when she grabbed a handful of rivets and threw them in a container with totally different rivets!! Sorting cost us some time, but it was a good laugh knowing that she thought she was really helping. Gavin, not so much; he just sits there and watches with the ear muffs on. I keep passing him Cheerios now and again, and he doesn’t make a sound. If he got his hand in the rivets, he would most likely eat them!!
I got back out to the garage once the kidlets were in bed and riveted until around 9:00, leaving with only about ½ hour of riveting left to go. I did leave some stuff off for inspections.
Once the vertical stabilizer was completed, I was on to the rudder. I figure it took about 12 hours to build. I did have to drill one rivet just to make sure I still remembered how to do it!! My new bucking bar, courtesy of Allan at work, is the best one I have: 1-1/2” x 1-1/2” x 2″ long square bar. It is a perfect size for tight places like all the parts of the tail surfaces!! Once I polished all the rust off it, it looked like all the other overpriced ones that I had to buy.
I found all the parts needed for the rudder and started fabricating the assorted items required. I also attached a couple of examples of the instructions. They are very clear and easy to follow.
Sure feels good to be building again. I have to say that I love flying just as much as building. Flying may be a wee bit more, as a finished plane can take me anywhere I want to go!!
