
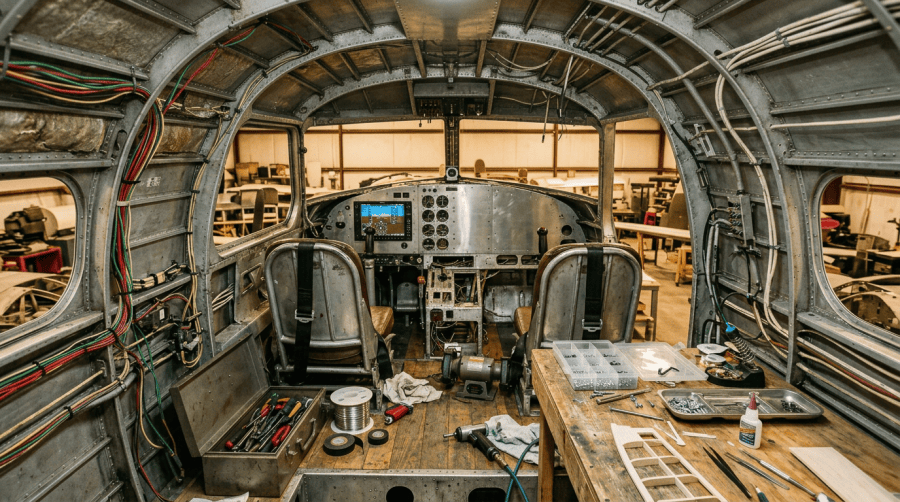
I have been making slow progress on the RV6. I’m in a state of making lots of small pieces which will be a very impressive big piece once it is all riveted together.
Sharing a hangar with Ralph Inkster means I have expert help available to me at a moments notice no matter what question I have. One of the challenges with sharing a hangar with Ralph is that he makes lots of suggestions on improvements that I could make while everything is apart.
One of the first suggestions he had was to add additional angles to the fuselage behind the baggage compartment. The goal here is to stiffen the skins to eliminate the drumming and vibration. The angles, made out of .020 aluminum, were pretty easy to make with a shear and a bending brake. They were horribly difficult to put in because you have to lay on your side in a difficult position to get everything drilled and in place. This is something you want to do early in your build.
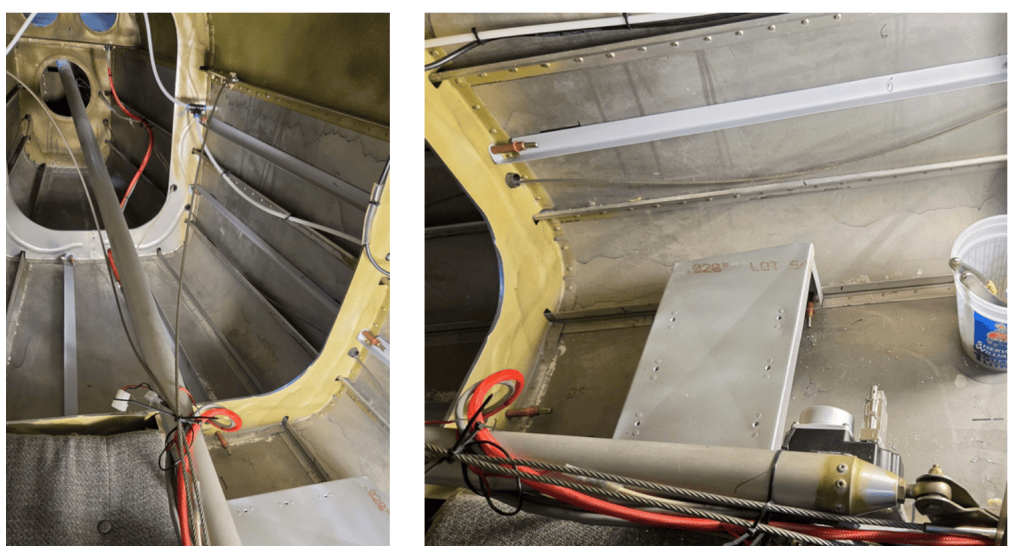
The next thing on my list was side panels for the baggage compartment. Normally, these areas are left open but I wanted to close it off so that everything looks a bit more finished. Another two days lost making and fitting these, but they came out very nice. These will be wrapped in vinyl with the rest of the cabin.
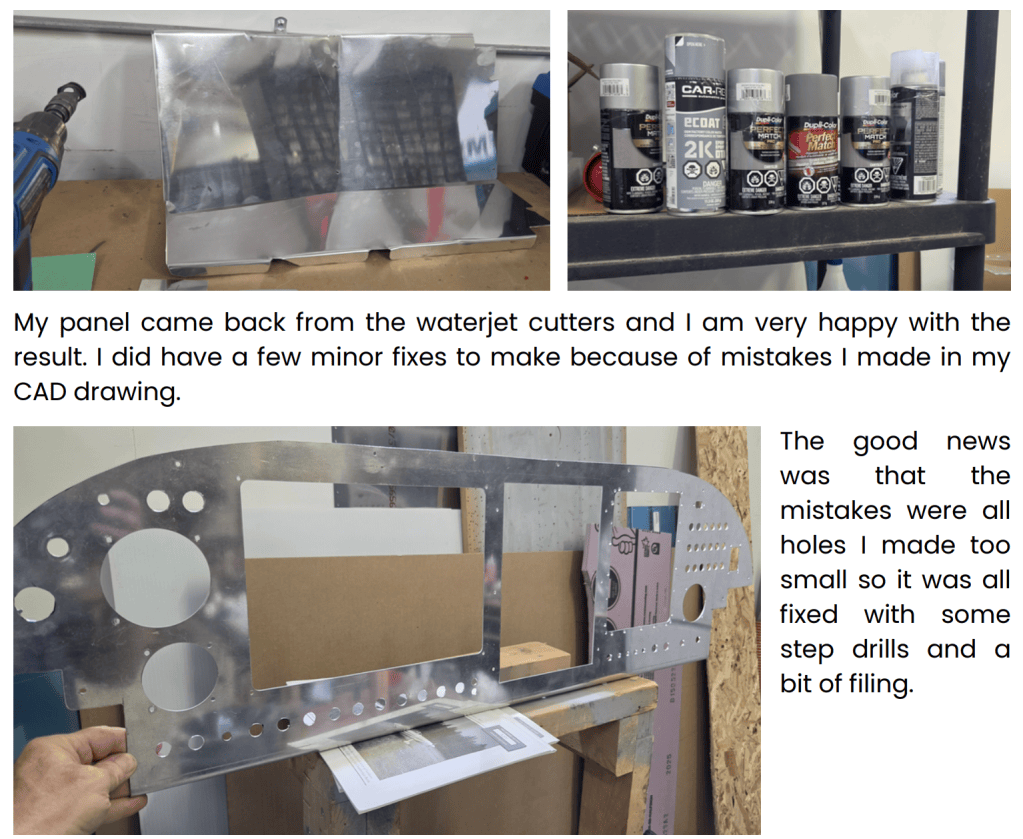
The panels cover most of the cabin area but there are structural parts that are out in the open. The solution here is that everything gets a coat of paint if it won’t be covered by vinyl. This is a tedious process because the cabin is half apart, wires and plumbing are everywhere, and you need to mask off these items so you can spray primer and paint. You have to prime and paint the same day so it bonds correctly and I’m doing a bit at a time while I work my way forward. Canadian Tire and Lordco have made a lot of money selling me small cans of paint this month.
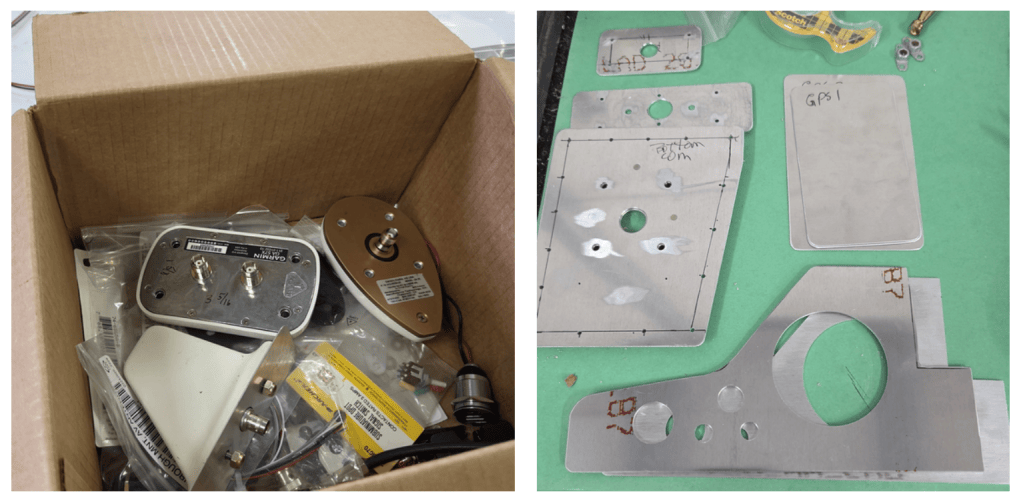
The most difficult job so far has been getting the antennas ready to install. There are about 25 choices on the type of antennas that I can use and 250 opinions on the best way to install them. After consulting with one of the avionics shops at CYBW I’ve decided their advice would be good to follow along with the Garmin installation manuals and most importantly Gerry MacDonald. AC43-13 2B chapter 3 is the guide for installing antennas but I did not find it very helpful.
The good news is there appears to be three standard templates for installing antennas regardless of what vendor you buy them from. The Garmin installation manual is also incredibly detailed on exactly how these need to be installed. The first requirement is that metal aircraft require a doubler plate riveted inside the plane so that there’s enough structure to keep the antennas from tearing out.
I have 7 antennas and I made about 20 parts getting it all right. The first problem was the top of the plane has a slight curve to it. I made the original doublers out of .065 which is very strong but would have caused a noticeable bend in the skin at the edge. The solution was to make new ones out of .032. The bottom skins are much flatter so the .065 parts are OK. Well they would have been except the CAD drawings I made accidentally scaled to fit the printed page, and these did not match the holes for the antennas. By the third try everything came out pretty good.
The next problem was finding a suitable place for everything. According to the manuals, for best results every antenna should be about 3 feet away from every other antenna. The RV6 is just not big enough for that, so more reading determined the best compromise locations for everything. Something I didn’t realize until I went to install the doubler plates is that the structure inside the plane has flanges for all the ribs and those flanges were on the side of the parts I was trying to install. To complicate matters the canopy slide has a bolt that sticks out forcing the GPS antennas close to these flanges. It took some trial fitting with some styrofoam blocks but I eventually got it all to fit.
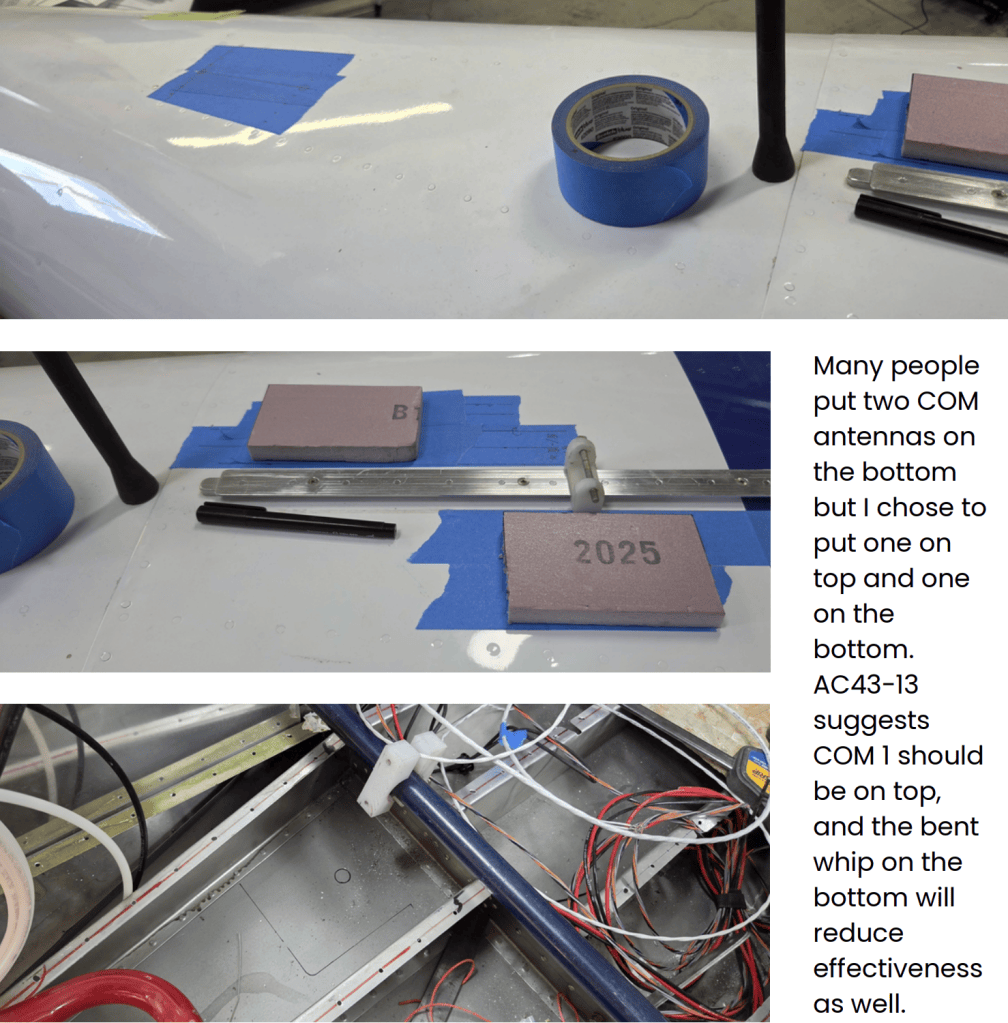
When I totaled up all the costs for all the latest work I did I was quite shocked. You would think all of these parts were made of gold for what it costs. Aluminum sheets are about $400 each for a 4×12 sheet depending on thickness. Russel Metals does stock a few sizes of 2024 in Calgary. These are cheaper than buying from Aircraft Spruce and paying shipping. Metal Supermarkets was about double the cost which is not unexpected since their specialty is allowing you to buy smaller pieces than a full sheet if you don’t need that much.
Antennas are $300-$500 apiece which seems like highway robbery. Ralph was very kind to give me a few from his surplus pile. Antenna wire is the model RG400 coax. It is similar to the black TV cable in your house except this is tan colored and costs $10/foot.
The antenna double plates have to have a very good electrical bond to the plane so you have to remove all the primer and contamination with laquer thinner and red scotch brite. Then these parts are coated in Alodine for corrosion protection. Alodine is fairly toxic and about $150/quart which is unfortunate since I needed about 4 ounces. Some people just use the red scotchbrite to clean the parts and rivet them together. This is probably OK if you use sealant to keep the water out from the antenna and screw holes.
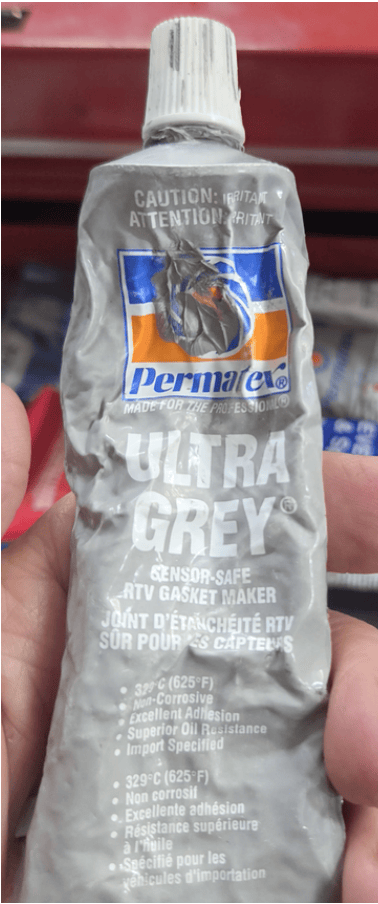
Something that is VERY IMPORTANT to remember is that Silicone, including RTV is not the same. Some RTV and the Home Depot silicones contain acetic acid (that vinegar smell) which is VERY CORROSIVE to aluminum. Do not use this on aircraft. Permatex RTV Ultra Gray is NOT HARMFUL to aluminum, and is easy to find. (Or other sealants that say “SENSOR SAFE”) You want to seal the antenna perimeter and screws to keep water out of the plane as corrosion will develop and be hidden.
For COM antennas you can do metal to metal contact if the plane isn’t painted, or star washers on the nuts (or use anchor nuts) to get good contact with the doubler plate. This is why it’s important that the double plate has good contact with the aircraft skin on the inside. Transponder antennas follow a similar requirement.
If you are installing in a wood or fiberglass plane you need to add metal mesh or
an aluminum sheet big enough to act as a ground plane. GPS antennas are
more forgiving and grounding through the bolts works well.
The last thing I worked on this month was to replace the plastic brake lines with braided steel. Lots of RV builders use the clear plastic tubing but I wanted to avoid any future trouble. Since the instrument panel I am putting in will be a bit lower than a standard RV (to fit all the stuff) it would be very difficult to go back and change them later.
One really, really big job that Ralph completed for me was removing and resealing the fuel tanks since both had leaks. This is very common in RV’s and Ralph is an expert in this. Each tank is held onto the front of the spar with about 150 screws. In theory it should be easy to remove a tank but in this case the builder used Loctite. Only about half the screws came out and he ended up drilling out the rest of the screws and anchor nuts, making new access holes in the wings, and then putting everything back together. All before Ralph cut 5 access holes in each tank to get access to all the current and possible future leaks.
To seal the tanks you mix up an epoxy type material called Proseal (or Flamemaster CS-3204). This is very expensive at about $300/quart and two were required. It also has a very short shelf life so by the time you, or someone you know, can use it again it will be expired. It can still be used, but not for aircraft, so you could find other uses where you need an incredibly strong glue which won’t be dissolved by gas or any other solvents readily available. Fixing tanks sounds very simple but it was weeks of extra work that I did not plan for. I hope to have my new plane in the air sometime soon.

