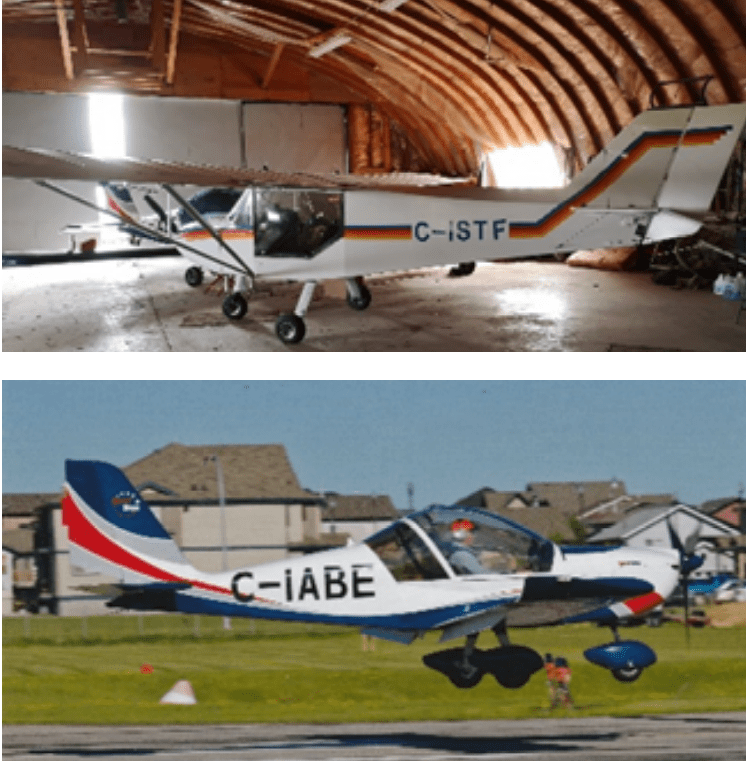
In early March of 2024 Norm Vienneau pointed out a Barnstormer’s ad for a complete S6 kit in Campbell River BC. A coffee klatch friend Wayne Clark was heading to see his parents on Vancouver Island and suggested I go with him, and we check it out.
The kit was complete except for engine, instruments and engine mount. The fuselage had been factory assembled, otherwise no other work had been completed. These pictures are of the complete S6 loaded in Campbell river on Vancouver island, and its final destination Calgary, Ab.

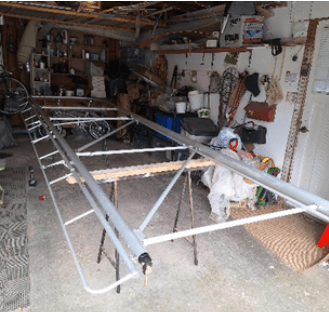
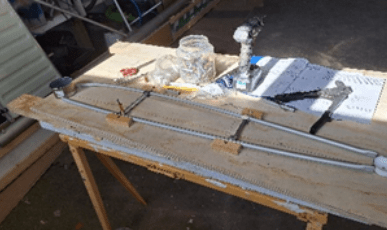

The fuel tanks installed, and the leading-edge aluminum epoxied into place.

Covering is done in Stewart System fashion. Instead of their $300/litre I use 3M Fastbond Contact Adhesive 30NF available from Edmonton Fasteners for $65 per litre. There are a number of YouTube educational videos of this covering method. I don’t understand why aircraft covering uses “Pinked” instead of straight tapes. Pinked tapes require numerous coats of paint to minimise roughness along their edges while straight tapes are almost invisible after the first coat of paint.
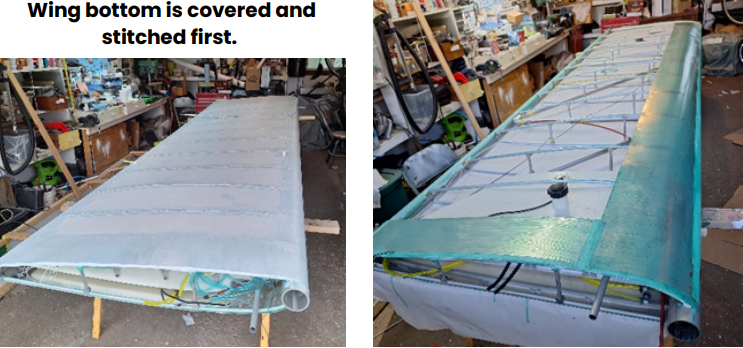


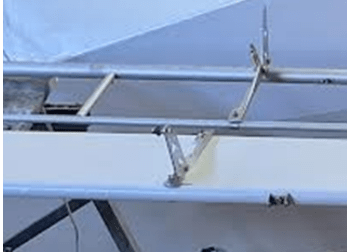

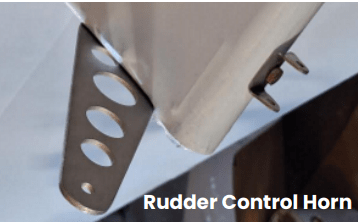
Ailerons, flaps, rudder and elevator must be mounted and blind nuts installed prior to covering. Hinges and control horns removed. Parts covered then hinges reinstalled. Electric elevator trim has been substituted for Rans Cable system.
Aircraft Covering and Painting details:
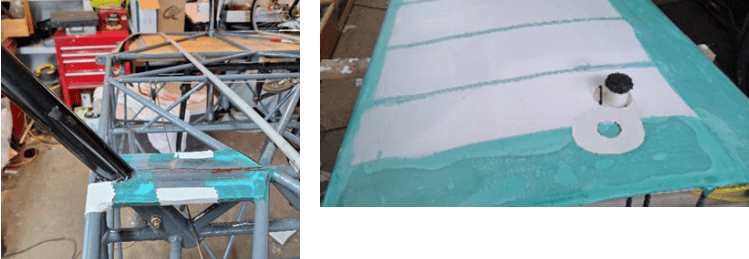
After covering, KILZ3 primer is applied. To ensure good adhesion, use a generous coat of primer that has been thinned with windshield washer antifreeze. This is a good time to apply black primer or paint to prevent light from penetration through the framework.
Tremclad Gloss White water base is then applied with a foam roller. Thin to a consistency you are comfortable working with. Three coats will completely cover and produce a good shine.
Except for windshield the entire firewall aft is complete. I am currently trying to design a paint trim scheme. I needed it like a hole in the head but it is now complete except for the Engine installation.
I have a flying 912 ULS powered S6, and an Evektor SportStar so I am not sure what I’ll do with this S6.