
If you want to fly airplanes for the big airlines you need Multi-engine and IFR ratings. There are four kinds of IFR Ratings in Canada, referred to as Group 1, 2, 3 and 4. These are:
Group 1: Multi-Engine
Group 2: Center line thrust
Group 3: Single engine
Group 4: Helicopter.
Since I’m working toward being an airline pilot, I’m currently pursuing a Group 1 rating. To get that rating I need 40 hours of instrument training with at least 20 being in a multi-engine airplane. These 20 hours of instrument training are in addition to the time it takes to get a multi-engine rating.
I thought this would be pretty easy when I signed up for the course, but I had no idea what learning to fly IFR actually entailed. It turns out there are a lot of procedures and skills that I need that I don’t use as a VFR pilot.
The first thing to learn is that flying IFR means planning an entire flight to avoid obstacles and terrain without the requirement to look out the window. This makes for more work before you gas up the plane and head out, but once you’re in the air, you just follow the plan. There’s no squinting through forest fire smoke or haze to try and find the runway, your instruments and procedures will bring you right to it. You will also have an ATC controller keeping an eye on you the whole time, or at least most of the time, depending on where you are.
IFR flying has changed a lot in the last few years. When I got my PPL, airplanes had VOR receivers and ADFs, and if you were lucky you had a DME.
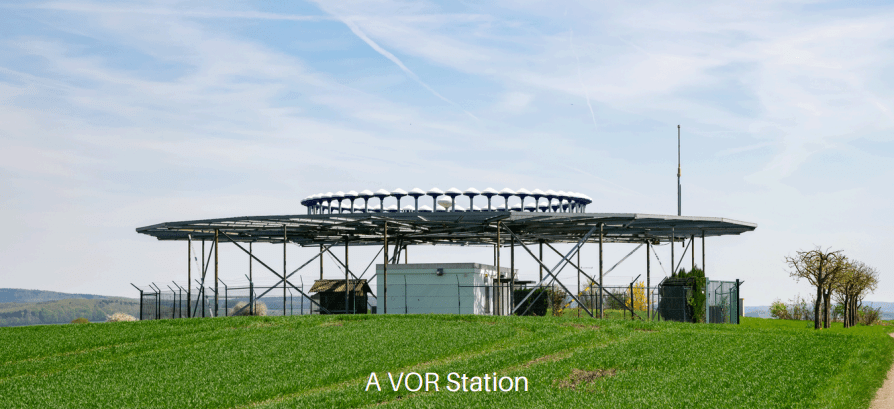
Today having an IFR certified GPS is a minimum requirement, as there are only a few NDBs and VOR stations left in Canada. That’s a bit concerning when the news is full of stories of GPS jamming and GPS “spoofing”.
The first thing I learned about IFR flying was how to do a hold. A hold is just a specific racetrack pattern you fly at a waypoint, either to climb or descend in one place, or to just hang out while ATC makes room for you on the next leg of your trip. That next leg may be the approach to your destination airport.
There are three very precise ways to enter a hold depending on what direction you are approaching it from. The purpose of all this is to ensure the plane flies the hold pattern in protected airspace, ensuring no inadvertent brush with the side of a mountain, or interference with other obstructions or traffic.
The next stage was procedure turns, which are always done in the vicinity of an airport. There are four ways to do these, depending on what direction you approach the airport from. When you’re flying IFR you need to fly above any potential obstacles (that you won’t be able to see in IFR weather) until you’re ready to approach and land. A procedure turn is simply a pattern you fly, once you reach the airport area, in order to lose enough altitude to join the approach and descend at a safe and comfortable rate.
Typically, you fly to a specific waypoint, on or near the airport, and fly a specified heading outbound for a few minutes while descending to the published approach altitudes. Then it’s a turn inbound, let the avionics find the runway, and fly down to the pavement.
Now that GPS is the most common navigation method, airports have been implementing RNAV or GNSS (which means GPS) approaches instead of VOR, ILS or NDB. The key benefit of these is that no expensive radio equipment is required at the airport so more airports can now be IFR destinations. Another benefit is that the layout of these approaches allows the plane to start the descent further back so no procedure turns are required. This saves time and provides a more accurate way to fly the approaches.
With this foundational knowledge in place it’s time to learn how to fly the IFR simulator. I’ll have more about sim practice in the next article.

