As the spring flying season is here, I thought I would remind us all the importance of Practiced forced landings. I started in Ultralight flying after taking a ride in the back seat of a Beaver. I was instantly hooked, and I thought this is what flying was meant to be. I had experienced Cessna intro flights and felt unimpressed. The flight in the Beaver hooked me on ultralights.
When I started my training, one of the first things my then instructor stressed was Practiced Forced Landings. The PFL, Practiced Forced Landing, was to help me develop sufficient skills to cope with an emergency landing away from a suitable airfield. I did not understand at the time that flying two stroke engines made this skill invaluable. I remember the first time a field was picked. The descent to it seemed unnerving and I kept wondering when the instructor was going to let me resume normal flight. As with any new skill it became less stressful with practice. It was not until sometime later I realized the importance of the exercise. My Rotax 582 stopped a couple of times on take-off and both were without incident because of my training. The first thing that my instructor taught me was FLY THE PLANE. Up til my first motor out I wondered how I would react to my first forced landing. It is amazing how training takes over and keeps you safe.
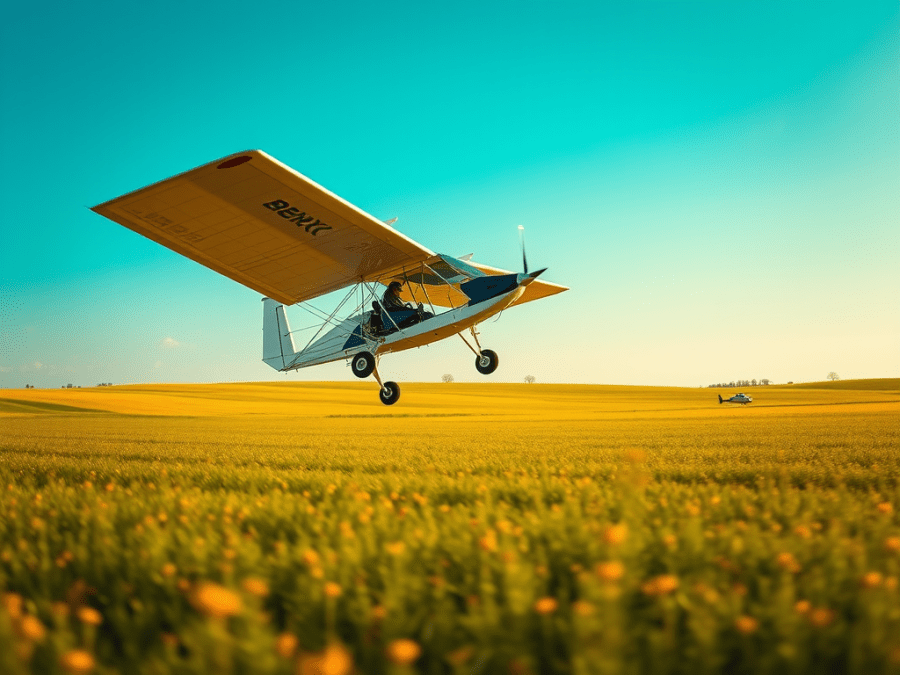
My first motor out was on take-off at about 300 feet AGL. Not much to do except land straight ahead. You might think panic would take over but when the motor went quiet, all I had time for was a quick look to determine the best spot, shift the plane slightly with the rudder to the left and put it down. Actually, the first thing I did when the motor went quiet was push the stick forward and then checked airspeed. Then I checked where I was headed and put the plane down. When you lose motor on take-off, push the stick forward first.
So how do you pick an appropriate field to land in?
There are a few things to consider and with practice you will be able to pick out a good field quickly. The six ‘S’ checklist will help ensure you cover all the important factors.
- Shape – Square? Ideally you want the field to be wide and long, giving you a good safety margin.
- Size – Will there be a large enough landing distance?
- Surface – We want to land in a cut grass field or a field which has a soft, shallow crop. Muddy fields and landing across the plough line of the field will only increase the risk of injury during landing.
- Surroundings – Look around the field, not just the initial aiming area. Are there any telegraph poles? Electricity pylons? Walls or fences halfway down the field?
- Slope – Does the field slope downwards, increasing the landing distance that will be required. Is the land too undulating? Ideally, we want to land in a field that is fairly flat.
- Sun – You do not want to be flying directly into the sun on your final approach to the field as it could cause glare to the point where your view is very poor.
My instructor drilled into me Aviate, Aviate, Aviate, Navigate, and Communicate. In that order. He used to say, “FLY THE PLANE, FLY THE PLANE, FLY THE PLANE.” It has been said that you are better to arrive at the ground in a landing position at 80kts then to meet the ground vertically at even 10kts.
As you fly keep your eyes outside the cockpit and looking for that emergency landing spot.
Good luck hopefully you won’t need a forced landing away from a field but best you are ready for it and never use it rather than need the skill and not be ready.
Fly Safe
Norm
